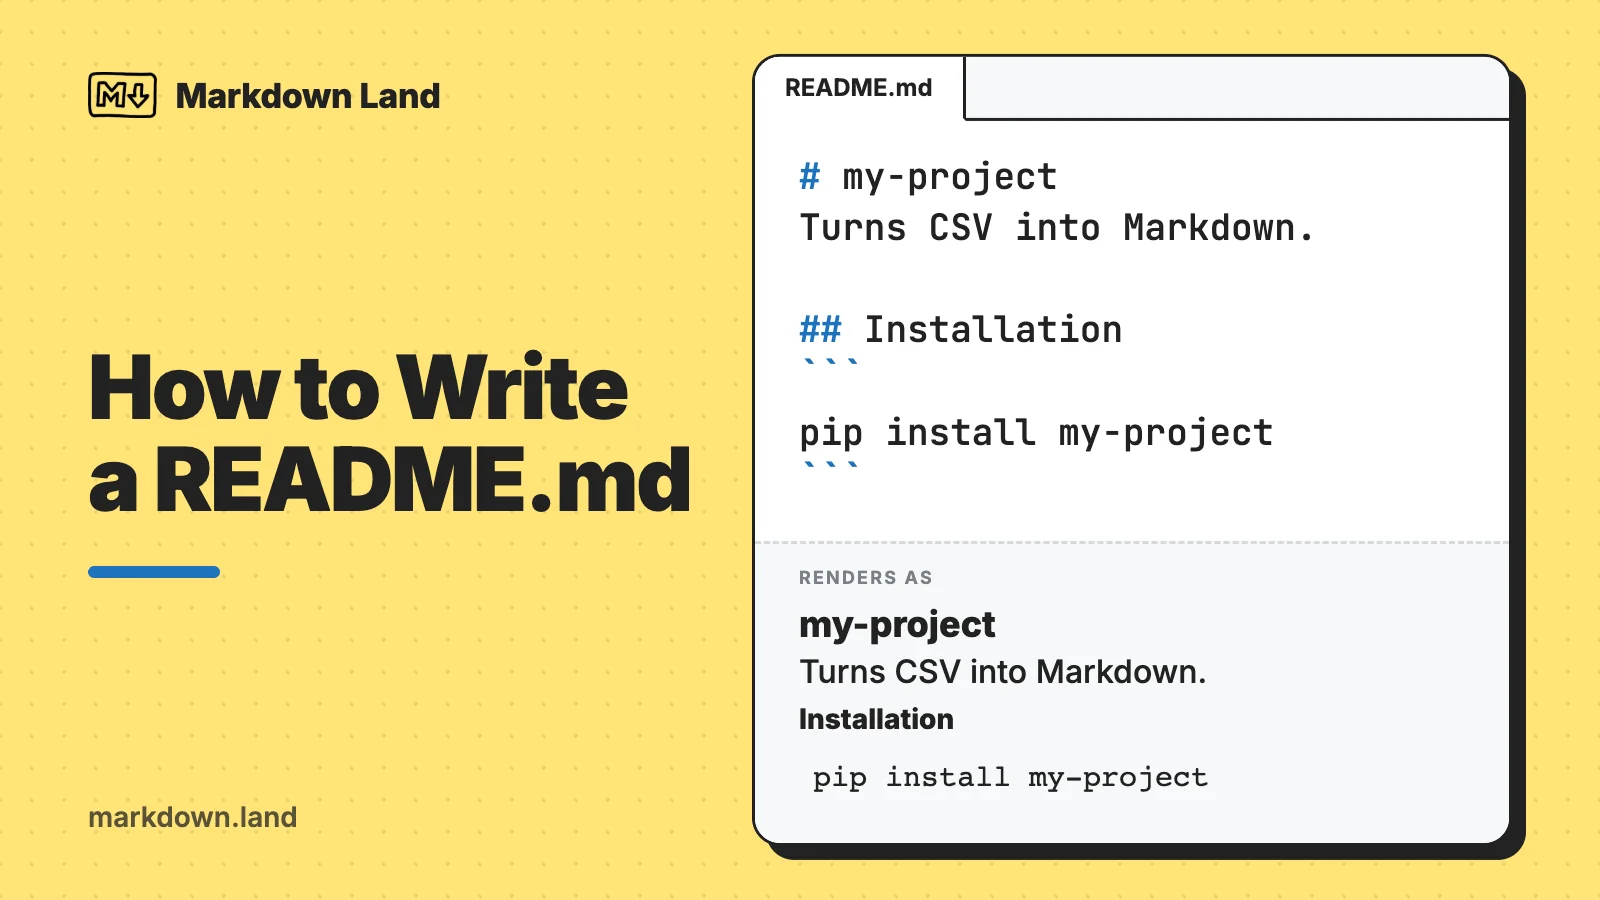
README.md is a plain-text file, written in Markdown, that explains what your project is and how to use it. You put it in the root of your repository. GitHub (and GitLab, Bitbucket, npm and others) finds it automatically, renders the Markdown, and shows it right below the file list on your project’s front page.

Here’s the smallest README that’s still useful:
# my-project

A command-line tool that turns CSV files into Markdown tables.

## Installation

```bash
pip install my-project
```

## Usage

```bash
my-project data.csv > table.md
```

## License

MIT
In this article, I’ll give you a complete README template to copy, explain where GitHub looks for the file (including profile READMEs), and show the GitHub-specific Markdown features that make a README look good: relative links, alerts, collapsible sections, diagrams, math, light and dark mode images, and badges.
What is a README.md file?
A README is the front door of a project. It’s usually the first thing a visitor sees, so it should quickly answer a few questions:
- What does this project do, and why is it useful?
- How do I install it and get started?
- Where can I get help or find more documentation?
- Who maintains it, and how can I contribute?
The .md extension tells GitHub and other tools that the file is written in Markdown, a lightweight markup language for formatted text in a plain-text editor. If you’re new to the syntax, my Markdown cheat sheet covers everything you need for a README: headings, lists, links, images, code blocks and tables.
A README template you can copy
This is the structure I use for most projects. Copy it, replace the placeholders, and delete what you don’t need:
# Project Name
[](https://github.com/OWNER/REPO/actions/workflows/ci.yml)
[](LICENSE)
One or two sentences about what this project does and who it's for.

## Installation
Requirements: Node.js 20 or newer.
```bash
npm install project-name
```
## Usage
```js
import { greet } from "project-name";
greet("world"); // Hello, world!
```
For all options, see the [documentation](https://example.com/docs).
## Contributing
Pull requests are welcome. For bigger changes, please open an issue first
so we can discuss what you'd like to change.
See [CONTRIBUTING.md](CONTRIBUTING.md) for details.
## License
[MIT](LICENSE)
Here’s what each section is for:
- Title and description: the project name as the only H1, followed by one or two sentences that explain what it does. Many visitors decide whether to keep reading based on this line alone, so skip the history and get to the point.
- Badges (optional): small status images for build status, latest version, license, or downloads. A few are useful; a wall of twenty is noise. More on badges below.
- Screenshot (optional): for anything with a user interface, a screenshot or short GIF says more than a paragraph of text.
- Installation: the exact commands to install the project, plus any requirements like a minimum language version. Put commands in fenced code blocks so GitHub adds a copy button.
- Usage: the shortest working example. Show the most common use case, then link to the full documentation instead of repeating it all here.
- Contributing: how people can help, or a link to a
CONTRIBUTING.mdfile with the details. - License: the license name with a link to your
LICENSEfile. Without a license, others can’t legally reuse your code. If you’re not sure which one to pick, choosealicense.com (run by GitHub) helps you decide.
Bigger projects often add sections like Features, Configuration, FAQ, Roadmap, Support, or Acknowledgments. Add them when you have something to say, not because a template has them. A README should get people started; longer documentation belongs in a docs/ folder, a wiki, or a documentation site.
How to create a README.md file
Creating a README.md file couldn’t be simpler. It’s a regular text file, but instead of a .txt extension, it gets a .md extension. You have a few options:
- When creating a repository on GitHub: tick the “Add a README” option, and GitHub creates a README.md with your project name as the heading.
- In an existing repository on GitHub: click “Add file”, then “Create new file”, and name it
README.md. The editor has a Preview tab, so you can check the result before you commit. - On your computer: create a file called
README.mdin your project’s root folder with any text editor, then commit and push it.
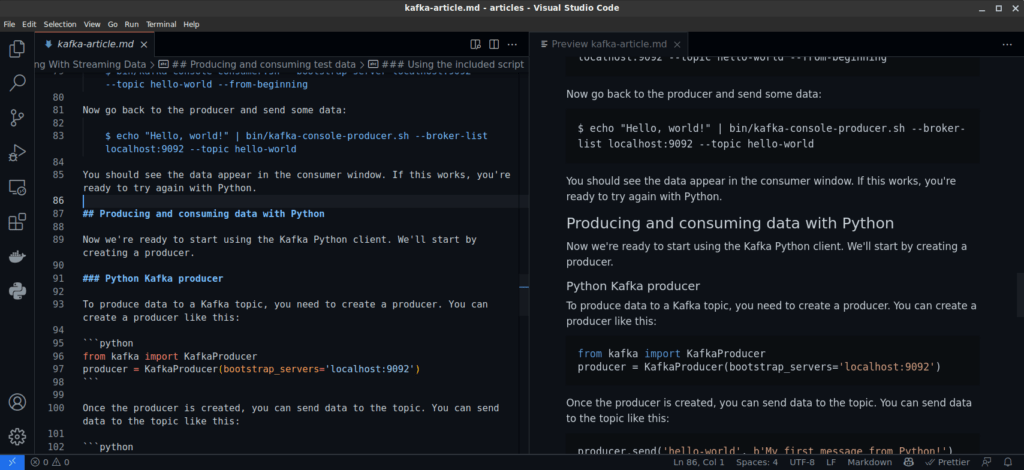
Most code editors support Markdown, either natively or through extensions. VS Code, for example, highlights Markdown syntax and shows a live preview next to your file (open it with Ctrl+K V, or Cmd+K V on a Mac):
Where GitHub looks for your README
GitHub shows a README on your repository’s front page if it finds one in any of these three places:
- the hidden
.github/directory - the repository root
- the
docs/directory
If there’s more than one, the first match in that order wins. So a .github/README.md takes priority over the one in your root folder, which can be confusing if you didn’t know it was there. I recommend the root: that’s where everyone expects it, and it’s where tools other than GitHub look too.
A few more things worth knowing:
- Subfolders can have their own README. When you browse into a folder on GitHub, its README is shown below that folder’s file list. It’s a nice way to document parts of a bigger project.
- Size limit: GitHub cuts off a rendered README after 500 KiB. If you get anywhere near that, move content to separate docs.
- Other formats work too. GitHub also renders README files in other markup languages, like
README.rstorREADME.adoc, but Markdown is by far the most common.
For the official details, see GitHub’s page About the repository README file.
Your GitHub profile README
You can also put a README on your personal GitHub profile page. GitHub shows it at the top of your profile when all of these are true:
- You have a repository with exactly the same name as your username (for user
octocat, that’soctocat/octocat). - The repository is public.
- It has a non-empty
README.mdin its root.
When you create that repository, GitHub recognizes the special name and offers to pre-fill the README with a starter template. Use it for a short intro, what you’re working on, and how to reach you. See Managing your profile README for details.
Organization profile README
Organizations get a profile README too, but it lives somewhere else. Create a public repository called .github in your organization and add the file as profile/README.md. GitHub shows it on the organization’s Overview tab.
For a README that only members of the organization see, use a private repository called .github-private, again with the file at profile/README.md. Note that this .github repository is different from the .github/ folder inside a regular repository. GitHub explains it in Customizing your organization’s profile.
GitHub Markdown features for your README
GitHub renders READMEs with GitHub Flavored Markdown (GFM), which adds things like tables, task lists and footnotes to standard Markdown. On top of that, GitHub supports a few extras that are especially useful in a README. Keep in mind that most of these are GitHub features: other sites that show your README, like npm or PyPI, may render them differently or not at all.
Links to URLs
Links to other websites work the same as anywhere else in Markdown:
Read the [full documentation](https://example.com/docs).

Link with a title (shown on hover):
[Markdown Land](https://markdown.land "Markdown tutorials")

URLs in angle brackets always become links: <https://example.com>
On GitHub, bare URLs like https://example.com and www.example.com do too.
Relative links and image paths
For files inside your own repository, use relative links. GitHub rewrites them so they point to the right file on whatever branch the visitor is viewing. They also keep working in clones and forks, which absolute links to github.com don’t.
# Project XYZ This repository contains: - [The backend](backend/) - [The Docker configuration](docker/) - [The WordPress plugin](plugins/wordpress/) The documentation lives in the [docs](docs/index.md) folder. Installation steps are in the [installation guide](docs/first-steps/installation.md). 
Paths are relative to the current file. A path starting with / is relative to the repository root, and ./ and ../ work as you’d expect. One gotcha: keep the link text on a single line, or the link won’t work.
Images, sizes, and light/dark mode
Regular Markdown image syntax has no way to set a size. On GitHub you can use an HTML <img> tag instead, because GitHub keeps the width and height attributes (it strips style, though):
<img src="docs/screenshot.png" alt="The main dashboard of Project XYZ" width="600">
GitHub visitors use both light and dark themes, and a dark logo on a dark background disappears. The <picture> element lets you show a different image per theme:
<picture>
  <source media="(prefers-color-scheme: dark)" srcset="https://raw.githubusercontent.com/OWNER/REPO/main/docs/logo-dark.png">
  <source media="(prefers-color-scheme: light)" srcset="https://raw.githubusercontent.com/OWNER/REPO/main/docs/logo-light.png">
  <img alt="Project XYZ logo" src="https://raw.githubusercontent.com/OWNER/REPO/main/docs/logo-light.png">
</picture>
The <img> at the end is the fallback for anything that doesn’t support <picture>. I used full URLs here because they also work when your README is shown outside GitHub, for example on npm. And whichever method you use: always write real alt text. My Markdown images guide covers paths, sizes, captions, and videos in more detail.
Alerts
Alerts (also called callouts or admonitions) are blockquotes with a special first line. GitHub shows them with a colored bar, an icon and a title. There are five types:
> [!NOTE]
> Useful information that users should know, even when skimming.

> [!TIP]
> Helpful advice for doing things better or more easily.

> [!IMPORTANT]
> Key information users need to know to achieve their goal.

> [!WARNING]
> Urgent info that needs immediate attention to avoid problems.

> [!CAUTION]
> Advises about risks or negative outcomes of certain actions.
On GitHub, the first one renders roughly like this:
ⓘ Note
Useful information that users should know, even when skimming.
Use them sparingly. If everything is a warning, nothing is. On sites that don’t support alerts, they show up as a normal blockquote with the literal [!NOTE] text, which still reads fine. I tested all the edge cases in my article on GitHub alerts.
Collapsible sections with details
Long output, full config files, or platform-specific instructions can go in a collapsible section. GitHub supports the HTML <details> and <summary> elements:
<details>
<summary>Installing on Windows</summary>

1. Download the installer from the Releases page.
2. Run `setup.exe` and follow the steps.

</details>
Result (click it):
Installing on Windows
- Download the installer from the Releases page.
- Run
setup.exeand follow the steps.
Don’t forget the blank line after </summary>. Without it, GitHub treats the content as raw HTML and doesn’t render the Markdown inside. Add the open attribute (<details open>) if you want the section expanded by default.
Diagrams with Mermaid
Instead of exporting a diagram as an image (that nobody updates), you can write it as text in a mermaid code block. GitHub turns it into a diagram:
```mermaid
flowchart LR
    A[Push to main] --> B{Tests pass?}
    B -->|Yes| C[Deploy]
    B -->|No| D[Fix and retry]
```
Mermaid supports flowcharts, sequence diagrams, class diagrams, Gantt charts and more. GitHub also renders geojson and topojson blocks as maps and stl blocks as 3D models. See Creating diagrams in GitHub’s docs, and my article on Markdown code blocks for the code block syntax itself.
Math
GitHub renders LaTeX-style math. Use single dollar signs for inline math, and double dollar signs (or a math code block) for a formula on its own line:
The runtime grows with $O(n \log n)$.

$$
\sum_{i=1}^{n} i = \frac{n(n+1)}{2}
$$
Details are in Writing mathematical expressions.
Centering a logo or title
Many READMEs start with a centered logo. Markdown can’t center anything, and GitHub removes style attributes, so the usual CSS trick doesn’t work. What does work on GitHub is the old align attribute:
<p align="center">
  <img src="docs/logo.png" alt="Project XYZ logo" width="200">
</p>

<h1 align="center">Project XYZ</h1>
I cover all the options, per platform, in how to center text and images in Markdown.
Badges
Badges are just images, usually wrapped in a link. Shields.io generates them for almost anything: package versions, downloads, licenses, or a static label and message you choose. GitHub Actions also provides a status badge for every workflow:
[](https://github.com/OWNER/REPO/actions/workflows/ci.yml) [](https://www.npmjs.com/package/PACKAGE) [](LICENSE)
The pattern is an image () inside a link ([ ... ](link-url)). Put all badges on consecutive lines and they’ll sit next to each other in one row.
Table of contents
You don’t need to maintain a table of contents by hand. GitHub generates one from your headings automatically: click the “Outline” icon in the top corner of the rendered README. Every heading also gets an anchor, so you can link to a section directly:
See [Installation](#installation) and [Usage](#usage).
The anchor is the heading text in lowercase, with spaces replaced by dashes and most punctuation removed. So ## Getting Started becomes #getting-started. For a long README, a short manual list of links like this at the top still helps, especially for readers outside GitHub.
Tips for a README people actually read
- Lead with the what and why. The first two lines should tell a stranger what the project does.
- Show a working example early. Copy-pasteable commands beat paragraphs of explanation.
- Test your instructions. Follow your own installation steps in a fresh environment now and then. Outdated instructions are worse than none.
- Keep it short and link out. Put detailed docs in separate files and link to them with relative links.
- Use headings consistently. One H1 for the title, H2 for the main sections. That also gives you a clean outline on GitHub.
- Write alt text for images. Screen reader users, and anyone with a slow connection, will thank you.
Wrapping up
A README.md is just a Markdown file in your project root, but it does a lot of work: it’s the first thing people see, and often the thing that decides whether they use your project. Start with the template above, keep it focused on getting people started, and use GitHub’s extras like alerts, collapsible sections and Mermaid diagrams where they genuinely help.
To brush up on the syntax, keep my Markdown cheat sheet open while you write. For specific elements, see my guides on code blocks, tables, and centering.
FAQ
What’s the difference between README and README.md?
Only the extension. A file named README (or README.txt) is shown as plain text. With the .md extension, GitHub and other tools know it’s Markdown and render the headings, links, images and code blocks. Unless you have a reason not to, use README.md.
Is a README.md file required?
No. Git and GitHub work fine without one. But without a README, visitors only see a list of files and have to guess what your project does. Package registries like npm and PyPI also use your README as the package description. So for anything you share, you want one.
How do I add images to a README?
Commit the image to your repository, for example in a docs/ or images/ folder, and link to it with a relative path: . To control the size, use an HTML tag instead: <img src="docs/screenshot.png" alt="Screenshot of the app" width="600">. You can also link to an image hosted elsewhere with its full URL.
Does README.md have to be in capitals?
No, GitHub also picks up readme.md or Readme.md. Uppercase README.md is the convention, though, and it sorts near the top of a file listing, which is why people started using it.
How do I preview my README before pushing?
Use your editor’s Markdown preview, like the one in VS Code shown above. It’s close to GitHub’s rendering, but GitHub-only features such as alerts or Mermaid diagrams may not show up (VS Code has extensions for those). The most accurate preview is GitHub’s own web editor: edit the file on github.com and switch to the Preview tab before committing.